How to Lay Porcelain Paving: A Step-by-Step Guide
Porcelain paving is sleek, strong, and low maintenance—but to get the best results, it needs to be installed with care. Here’s a step-by-step guide to laying porcelain paving the right way, helping you deliver a patio that looks stunning and lasts for years.
Step 1: Plan and Prepare the Area
Clear the site of vegetation, old paving, and debris. Mark out the area and dig down to a depth of around 150mm, allowing space for your sub-base, full mortar bed, and the slab itself.
Create a slight fall (usually 1:80) away from buildings to allow rainwater to drain off the surface effectively.
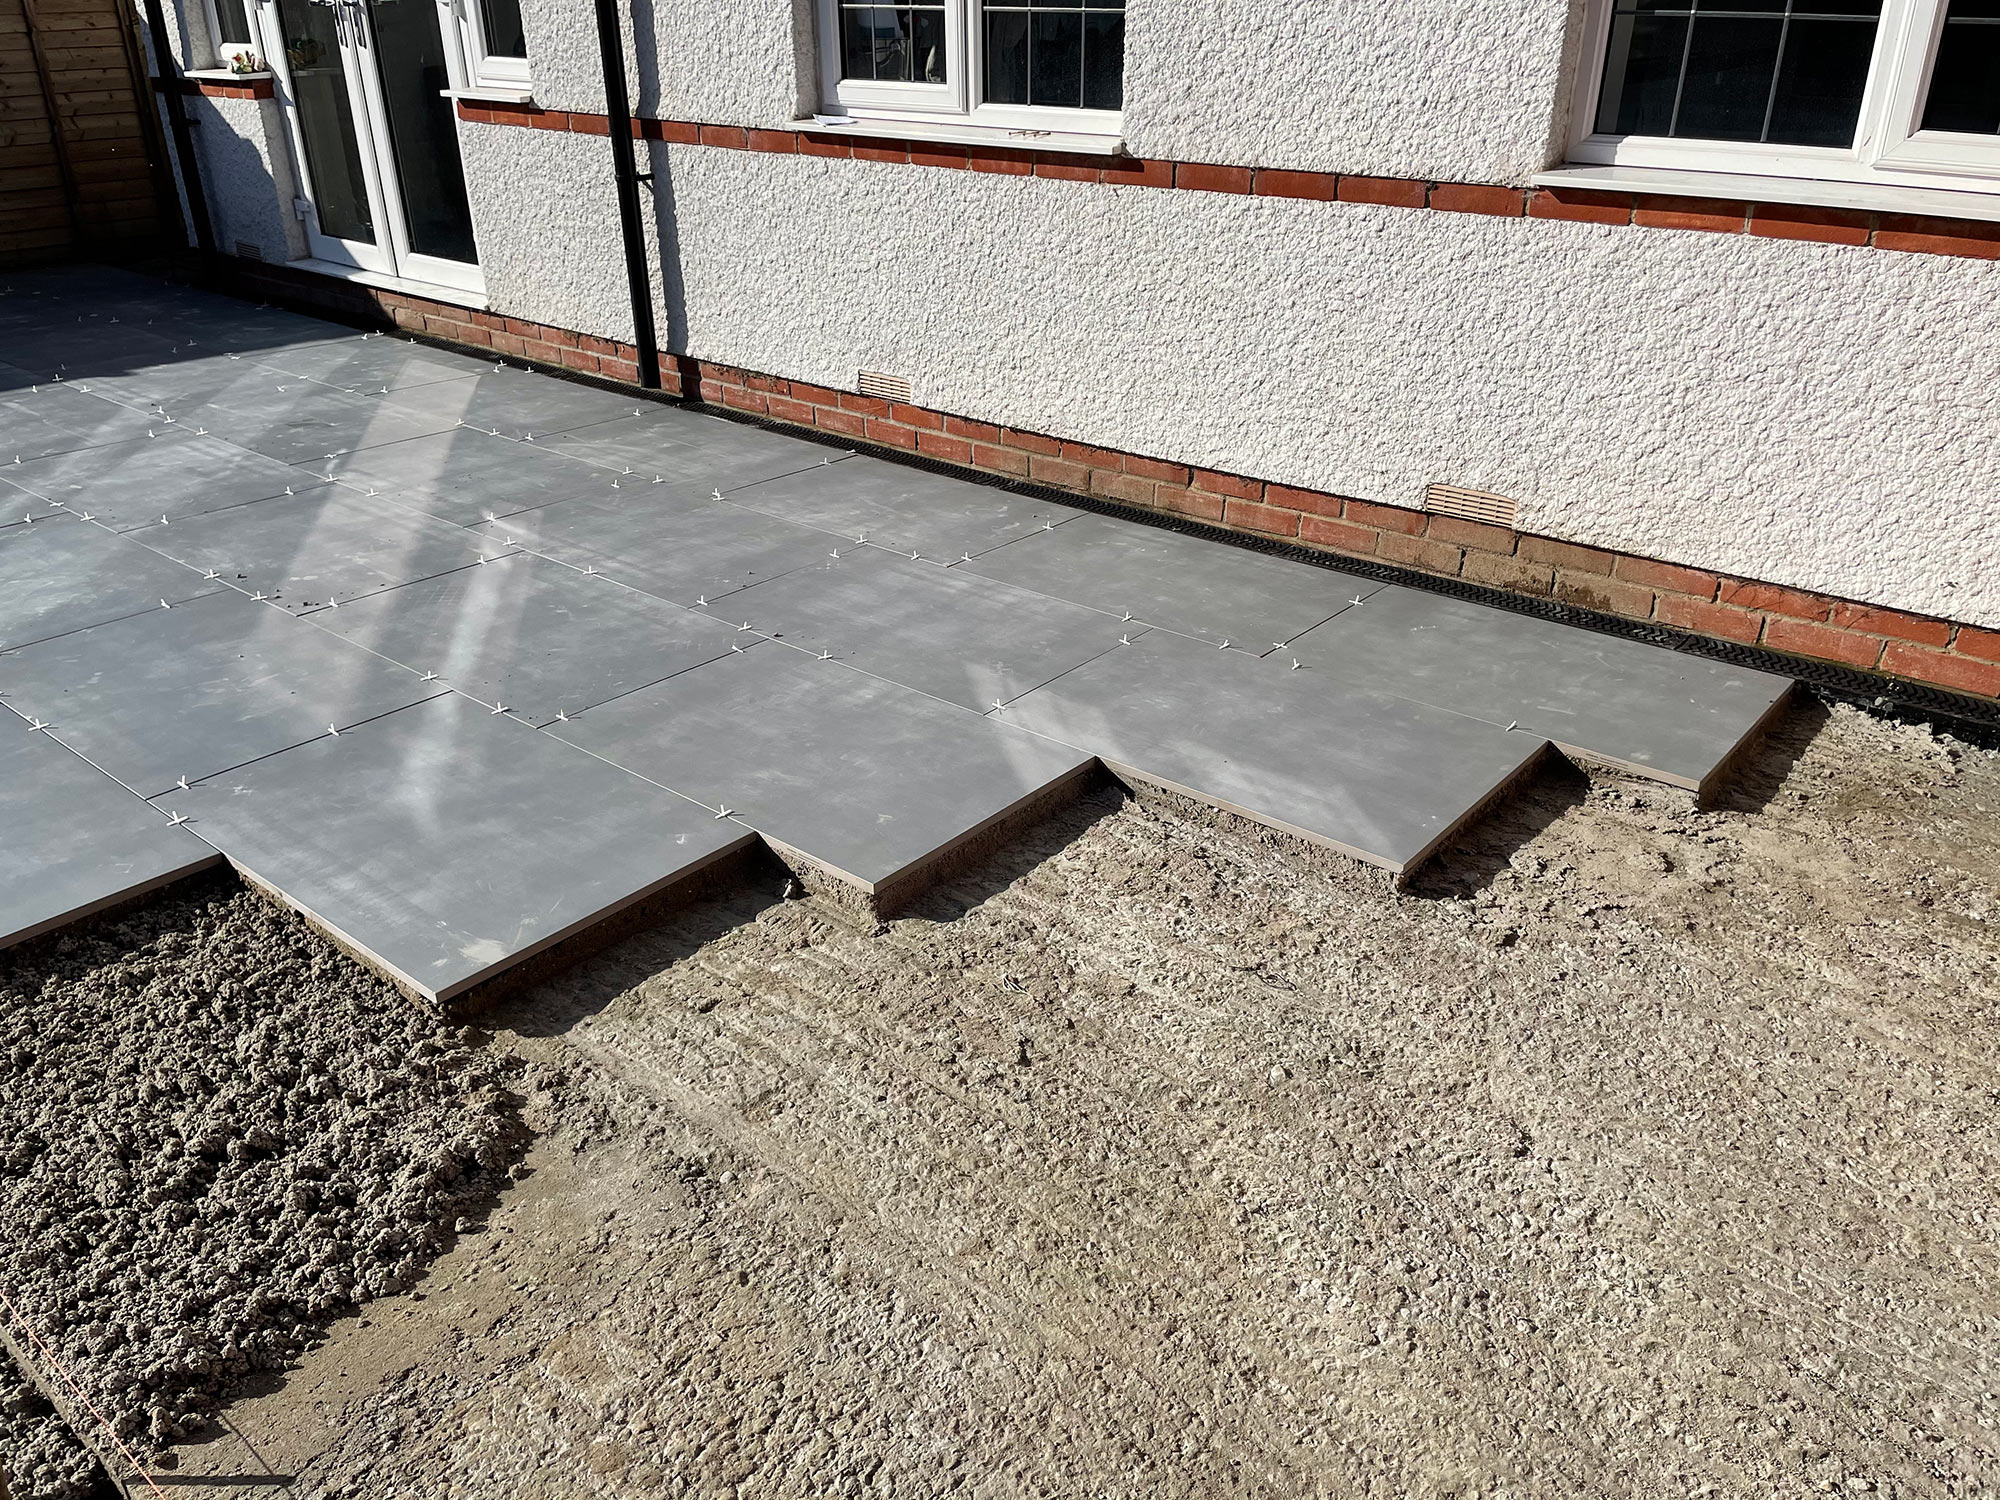
Step 2: Lay a Solid Sub-base
Use Type 1 MOT hardcore to build a strong foundation. Compact it in layers using a vibrating plate, aiming for a finished depth of around 100mm. This gives the paving the stability it needs to stay flat and crack-free over time.
Step 3: Prime Your Slabs
Porcelain is non-porous, which means it won’t naturally bond to mortar like concrete or sandstone. That’s where primer slurry comes in.
Before laying each slab, apply a generous coat of slurry primer to the back using a stiff brush or roller. This creates a strong adhesive bond between the slab and the mortar bed—don’t skip this step.
Step 4: Use a Full Mortar Bed
Lay your slabs onto a full mortar bed, not dots or dabs. The mix should be 4:1 (sharp sand to cement) and about 30-40mm thick.
Bed each primed slab down firmly, using a rubber mallet to tap it level. This method gives the paving even support across the whole surface and helps avoid movement or cracking.
Step 5: Maintain Consistent Joints
Use 5mm tile spacers to keep your joints neat and uniform. This also gives space for the grout to do its job properly, helping with drainage and flexibility.
Check levels as you go and use a string line or spirit level to keep everything running straight.
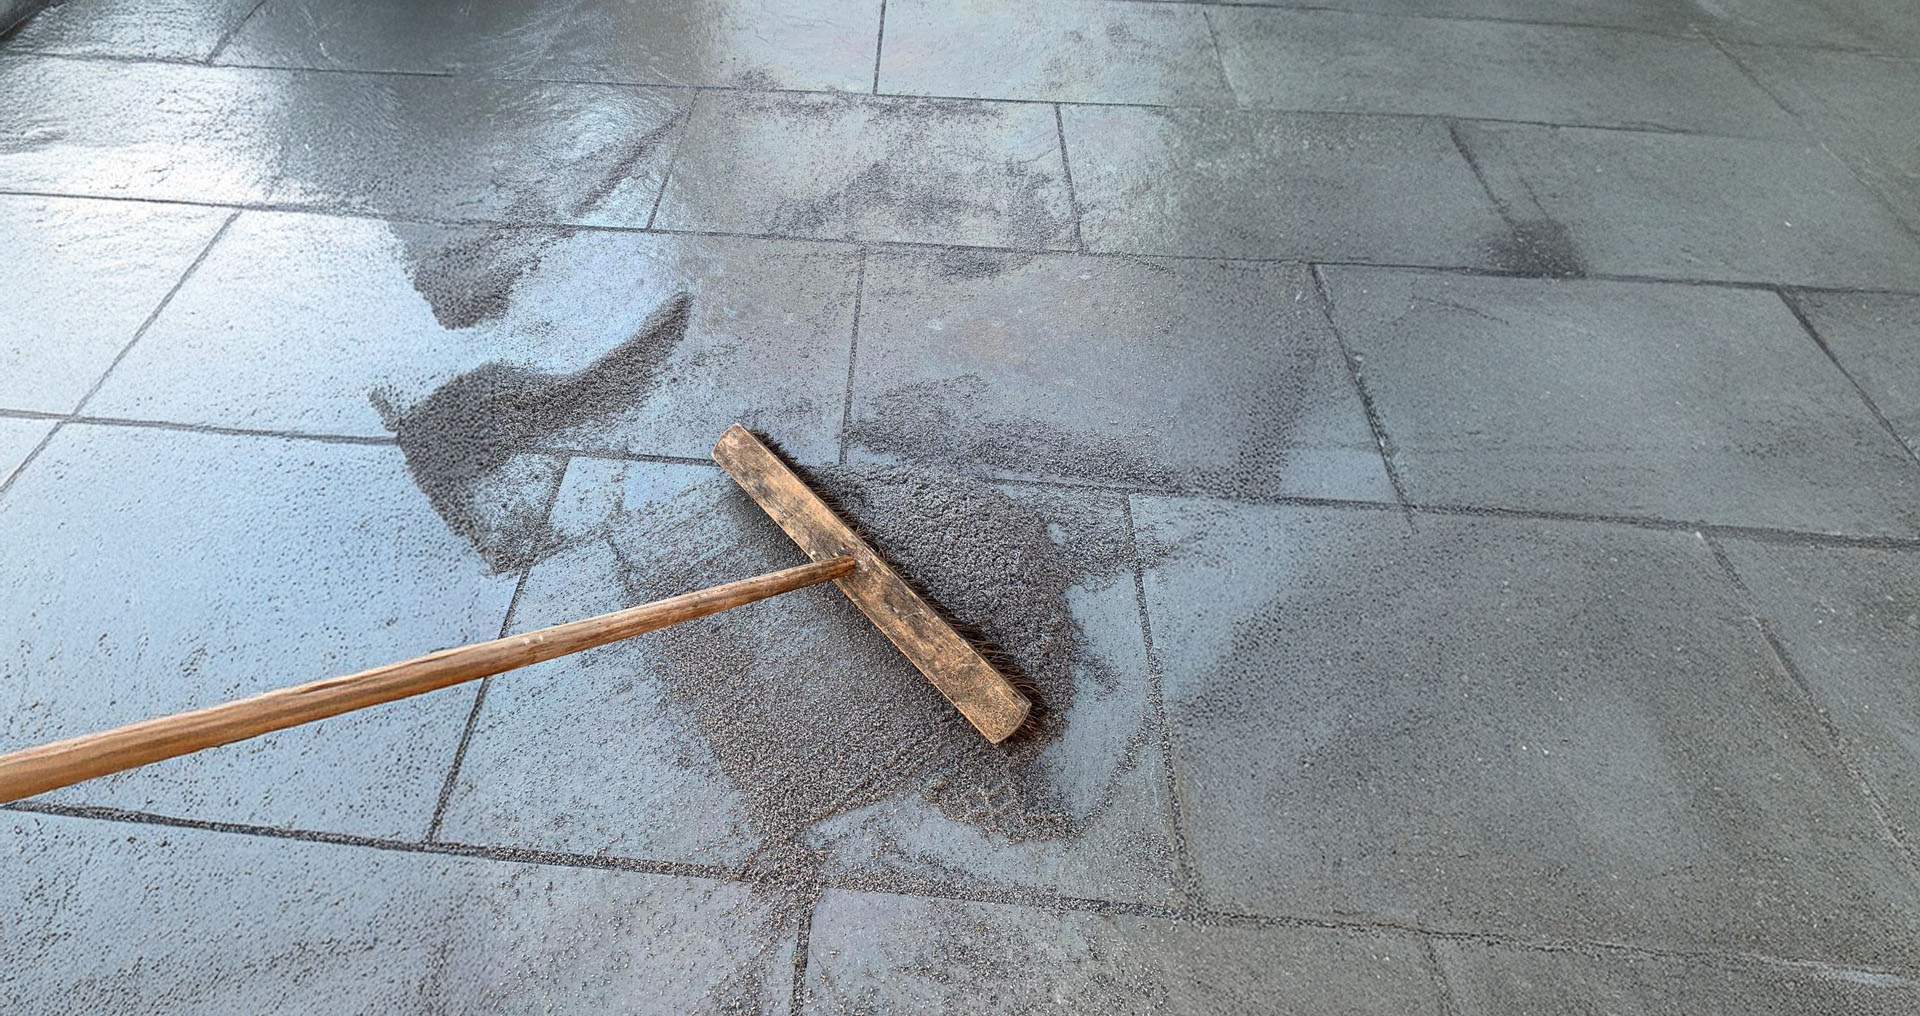
Step 6: Grout With Care
Once the paving is laid and the mortar has cured (usually 24–48 hours), clean down the surface and grout the joints using an exterior porcelain paving grout.
Apply it with a rubber float or squeegee, working it into the joints fully. Wipe off excess grout as you go to avoid staining the slab surface.
Step 7: Final Wash Down
Once grouting is complete and the joints have set, give the area a final clean with fresh water and a soft brush or sponge.
Avoid harsh chemicals or acid-based cleaners—porcelain doesn’t need them, and they may damage the grout or primer bond.
Top Tips for Success
- Always prime the back of every slab—no exceptions
- Don’t lay on dot and dab—it’s a full bed every time
- Use R11 anti-slip rated porcelain for outdoor use
- Always allow for fall and drainage
- Clean as you go to avoid grout residue or hazing
Need Help Choosing or Laying Porcelain?
We’re here to support you. Whether you're working on your first porcelain patio or your hundredth, our team is happy to offer guidance on best practice and product recommendations.
Get in touch today to speak with your Area Sales Manager or request technical support. We’re happy to help with samples, stock advice, and pricing.